I shared this tutorial at
Skrap 'n Chat during our 2nd birthday crop last weekend and was so delighted to see so many beautiful frames come from it that I just had to share here too. :D
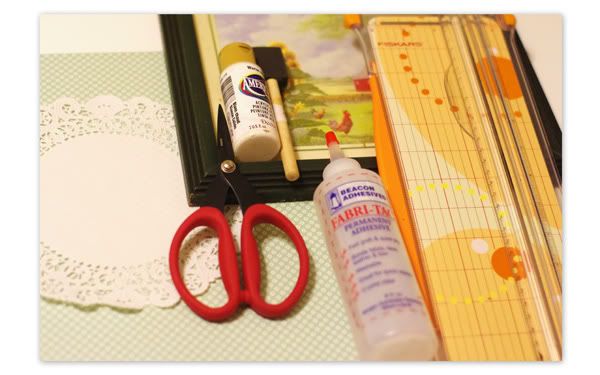
Here's what you'll need...
- an old frame with the glass
- acrylic paint and brush (optional if you like your frame as is)
- scissors
- paper trimmer
- glue
- pretty paper
- any flat embellishments like rub ons, flowers, anything that will fit under the glass with relative ease (I used a paper doily for simplicity)
- ruler (not pictured-oops)
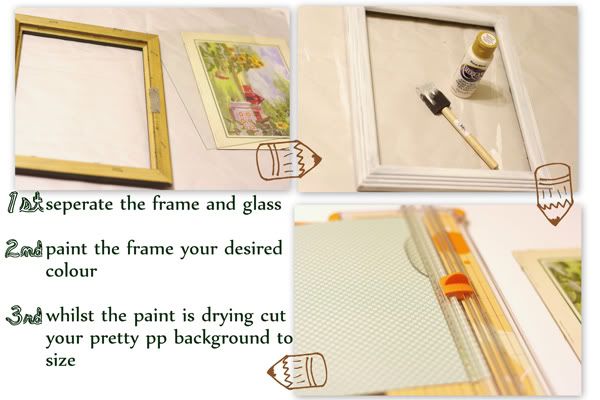
First thing you will want to do is remove the glass and backing from the frame and paint. Mine took two coats because of the dark wood and made sure to let it dry completely before adding the additional coat.
After the paint is dry and the background paper is cut, decorate and embellish to your heart's content. I kept mine simple because I really liked the October Afternoon paper. Simple yet elegant.
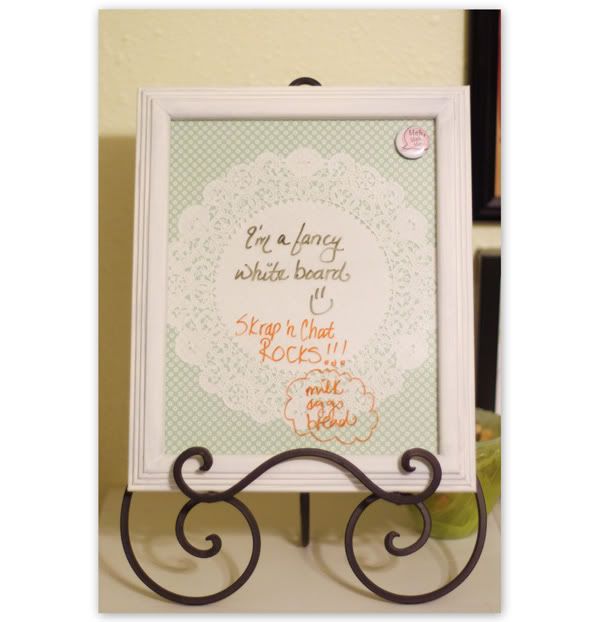
Put the frame back together and voila!
Now you have a fancy new dry erase board to keep track of all those thoughts and notes. My memory is a sieve so I take all the help I can get as my youth has begun to catch up with me. I have to say, though, it is very satisfying to use materials already on hand and also very rewarding.
This particular one is on it's way to a new home. Where it's going I cannot say....but it's cold there. ;o)
>^..^<


4 comments:
I still need to do mine, but I LOVE yours!!
Awesome use of materials on hands. Giving life to something old is awesome.
Great job Jenn!
Very nice - might be a great way to diplay a project list in a craft area...
i LVOE this!!!! And I have JUST the frame to do this with. Jenn, your creative mind is such a beautiful thing! Thanks so much for sharing ;)
Post a Comment