
Here's what you'll need to get started...

Estimated Time for 1-12x12 sleeve 30mins
Materials:
-sewing machine***
-12x12 page protectors
-white board pen
-damp paper towel (for wiping off the wb pen ink)
-craft knife
-12x12 thick cardstock or chipboard insert either in white or light in colour
-cutting mat
-ruler
-embellishments of all sorts (optional)
***Note: If you do not have a sewing machine you can use a paper piercer and poke holes along the sew line and use embroidery floss and hand sew along your sew lines creating a unique look. Items needed for hand sewing are:
-paper piercer
-mouse pad or protective mat
-embroidery floss or yarn
-needle for sewing the embroidery floss or yarn
 Step 1:
 Step 2:
*using your white board pen and a ruler, measure and draw your sewing lines (You can use photos of that size as a template to ensure that they will fit after)
Note: If you are not using a sewing machine please skip to Step 6

Step 3:
*now take your craft knife and ruler to make your horizontal line cuts slightly below your sew line about 1/8”. Be careful not to rub off your newly drawn sew lines ;0)
Step 4:
*Remove the card stock from the sleeve
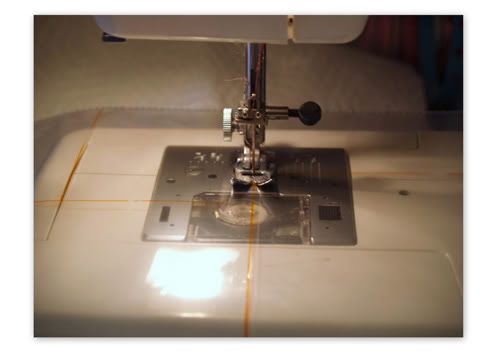
Step 5:
*Now it’s time to sew! I like to sew the horizontal lines first to prevent it from sliding around thus creating uneven lines and pockets. Then sew the vertical lines, wipe off the white board pen and you are finished!


Step 6:
*using your paper piercer or sharp needle, poke holes along your sewing lines making sure you are going through both sides of the page protector. Remember to poke the holes over your mouse pad or cutting mat or your work surface would have been freshly irrigated
Step 7:
*same as Step 3Step 8:
*remove the card stock from your sleeve
Step 9:
*thread your needle with embroidery floss or yarn of your desire and begin to sew through the poked holes.
Step 10:
*Wipe off the white board pen, add your photos and memorabilia and enjoy your custom made page protector=)
If you would like photos of how to do the hand sewing for this project, just leave a comment and I will be more then happy to comply =)
I really hope you enjoy making these and making them as unique and beautiful as you are ;0) I would love to see yours, please include a link to your sleeves so I can leave some love!
>^..^<


1 comment:
WOW, you are so creative and talented and apparently have a lot of time on your hands!!!
Post a Comment